When it comes to ensuring that reflective tape adheres effectively to difficult surfaces, a few critical steps and considerations need to be taken into account. Here’s a professional guideline to help you achieve a secure and long-lasting bond:
- Surface Preparation:
- Clean the Surface: Ensure the surface is clean, dry, and free of any dust, grease, or contaminants. Use a solvent like isopropyl alcohol to thoroughly clean the area where the tape will be applied.
- Smooth the Surface: If the surface is rough or uneven, smooth it out as much as possible. Sanding or using a primer can help in achieving a better bond. Just make sure the primer you use will accept an adhesive product.
- Contact Cement for Tough Surfaces: For some surfaces where tapes do not want to stick, priming the surface with DAP contact cement may help. To do this, simply apply, let dry completely, and then press on your reflective tape. The contact cement acts as an intermediary and an adhesion enhancer. (do not apply reflective tape over wet contact cement as it will adversely affect the tapes adhesive)
- Identify Surface Type:
- Non-Stick Surfaces: For surfaces like some plastics or powder-coated metals, special primers or adhesion promoters may be necessary. Applying an adhesion promoter can significantly improve tape adhesion. DAP contact cement or 3M General Purpose Sprayable Adhesive will work for this purpose.
- Newly Painted Surfaces: Allow newly painted surfaces to cure fully before applying the tape. The curing process must be complete to avoid adhesive deterioration caused by off-gassing paint fumes.
- Adhesive Choice:
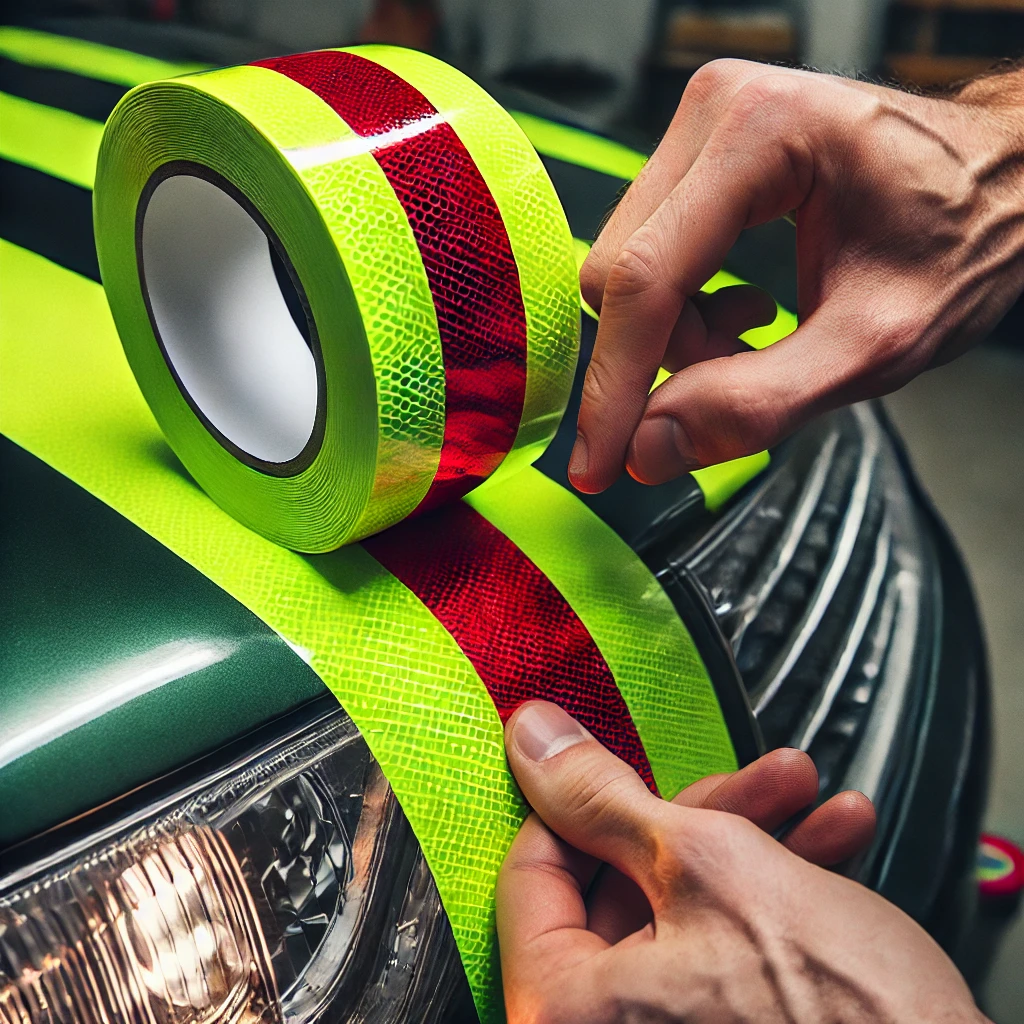
- Select the Right Tape: Choose a tape that’s designed for your specific surface type. For example, flexible, stretchable tapes are better suited for contoured or uneven surfaces because they can conform more easily.
- Adhesive Backing: Reflective tapes come with different adhesive backings. For tricky surfaces, you might opt for heavy-duty adhesives or those specifically designed for challenging applications.
- Optimal Application Conditions:
- Temperature Considerations: Avoid applying reflective tape in freezing weather, as cold temperatures can affect adhesive performance. The ideal application temperature typically ranges between 50°F and 100°F (10°C to 38°C).
- Cure Time: Allow the tape to cure for at least 48 hours before subjecting it to extreme conditions, such as sub-zero temperatures.
- Secondary pressure:
- Application Technique:
- Firm Pressure: Use firm, even pressure to apply the tape. This will help to activate the adhesive, ensuring a strong bond. Utilize a roller or a squeegee to ensure the tape is properly adhered and free of air bubbles.
- Avoid Stretching: When applying stretchable tape, be careful not to stretch the tape as this can cause it to lift over time.
For detailed instructions and additional guidance, here’s a valid link to an article that elaborates on reflective tape application and troubleshooting: How to Install Reflective Tape.
For more information, go to www.tapefinder.com and click on the contact link at the top of the page.